
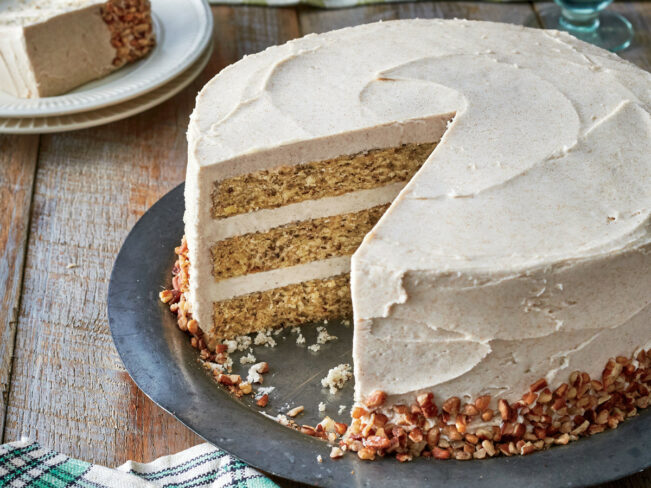

Frosting a layer cake looks simple. But, it needs to be done properly in order to avoid tearing the cake and cake crumbs mixed with the frosting, as well the final result not being that pretty. Follow these few steps to have gorgeous results.
What You Need

First, you’ll need at least 2 cake layers and enough frosting to cover however many layers of cake you’re using. Make sure the frosting is at room temperature; cold frosting will be difficult to spread.
It’s a good idea to have baked the cake the night before. Either way, let the cake layers cool completely before you start frosting. You will also need a cake stand (one that spins is the way to go) and an offset spatula to spread the frosting.
If you need a wonderful buttercream frosting recipe, be sure to check this delicious vanilla buttercream recipe.
Secure the Cake
You want to make sure your cake stays put while you are frosting. Simply “glue” it down by using some frosting. Dab a small blob of frosting (2 tablespoons is plenty) in the center of the cake plate and set one of the cake layers on top.
For a nice presentation when all is said and done, put strips of parchment paper or wax paper under the edges of the cake; slide them under the edges so they’ll be easy to pull away when you’re finished frosting.
Filling The Middle

To the top of the 1st cake layer, spoon on the filling or about 1 cup of the frosting. Spread evenly over top but not quite to the edges.
Place the second layer on top of the filling. Feel free to adjust to make sure it’s evenly placed. For more than 2 layers, just repeat this step for however many layers you are using. If there are only the 2 layers, move on to the crumb coat.
Begin the Crumb Coat
A crumb coat isn’t crucial, but it will truly give you the smoothest and prettiest results; Not to mention, you get to practice spreading the frosting. A crumb coat is a thin layer of frosting that will catch and trap any cake crumbs in it, allowing your final layer to be crumb free. You add a crumb coat using the same method you will use to frost the cake.
Add a generous amount of frosting on top of the cake and spread a very thin layer across the top, pushing as much of the frosting as you can to the edges.
You’ll want to push the spatula through the icing. For the best results, always push the icing from the inside outwards, then lift the spatula and begin again in the middle, going out in each direction. Do Not Backtrack. Keep the spatula on the frosting and don’t let it touch the un-frosted cake unless there’s plenty of icing on the spatula, or you run the risk of plucking at your cake and pulling off bits of your cake.
Finish the Crumb Coat

Using the frosting that is now built up on the top edges, begin spreading down and around the sides. Again, keep the frosting layer very thin at this point and always move the spatula through the frosting, pushing the frosting towards the un-frosted part of the cake.
If you can, chill the crumb coated cake for about 30 minutes, although even 10 minutes will be better than nothing.
Frost the Top of the Cake

Frost the top of the cake the same way you did with the crumb coat, but with a lot more frosting. Push the frosting from the center to the edges again, always moving from the new bit of frosting outward.
Frost the Sides

You should now have a good amount of frosting at the top edge of the cake, which you will just need to use the spatula to push it down the sides and around, continuing spreading it down and around until the cake is covered all the way around.
Add Swirls or Smooth It All Out

Once you’ve fully frosted the cake, it’s time to either smooth the surface or add your decorative touches.
Congratulations, you just frosted your cake and now it’s time to display it with pride or cut it into slices and plate it like a pro.